


Quick answer: Choose a camera mount from the complete load path: camera, box, bracket, fasteners and the building assembly that supports them. Identify the ceiling and obtain its approved attachment detail before cutting or drilling. Check access, required recorded view, cable route and any fire-rated or air-handling requirements. A tile bridge, toggle, concrete anchor or pendant is a candidate, not a universal fixing instruction.
On this page
Which ceiling is it, and what does that decide?
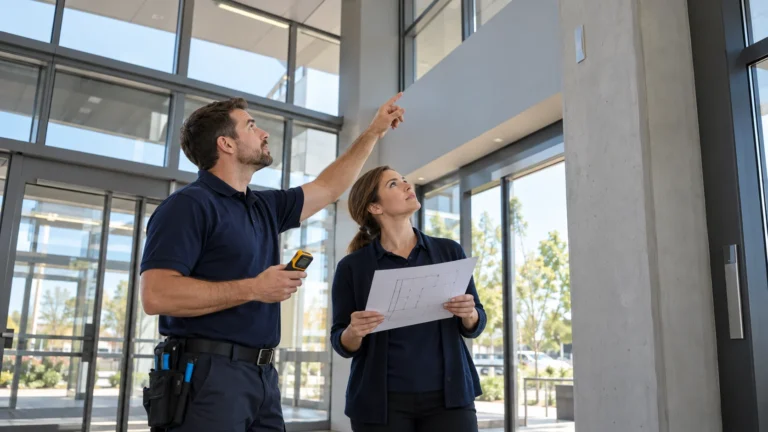
Survey the ceiling before finalizing the camera schedule. Record the material and assembly, available support, service access, required target view and approved cable route. A high position may need a different location or a compatible pendant, but no fixed height guarantees face detail and no generic labour allowance fits every ceiling. Use mounting-height guidance to plan the actual recorded task and access method.
| Ceiling | Support to confirm | Candidate arrangement | Approval/check needed |
|---|---|---|---|
| Suspended ceiling | Ceiling system and permitted equipment load/support | Approved bridge or independently supported mount | Ceiling manufacturer, project requirements, clearances and any seismic/fire details |
| Drywall | Known framing/backing or an approved overhead anchor assembly | Fixing designed for actual substrate, load and orientation | Fastener instructions and the complete rated wall/ceiling assembly |
| Concrete/precast | Verified slab type, condition, permitted fixing zone and concealed services | Specified anchor and compatible camera/pendant support | Structural approval and exact drilling, cleaning, embedment and installation procedure |
| Metal deck/open structure | Approved structural attachment point and load path | Specified clamp, strut, rod or another approved detail | Building/roof owner and structural instructions; do not improvise deck or joist attachments |
| High finished ceiling | Complete support plus access and movement limits | Compatible pendant, wall position or another approved location | Recorded target view, service access, drop length and dynamic loads |
Drop ceilings: confirm an approved support detail
Do not rely on an ordinary ceiling tile as an unverified structural fixing. Identify the exact ceiling system, equipment load and approved mounting/support detail. A suitable tile bridge can be part of that detail, but grid capacity, independent restraint, local seismic provisions and fire-rated assembly requirements vary. Have the responsible reviewer resolve them before installing the first unit.
- Agree the camera position and required clearances around sprinklers, lighting, air systems and access routes.
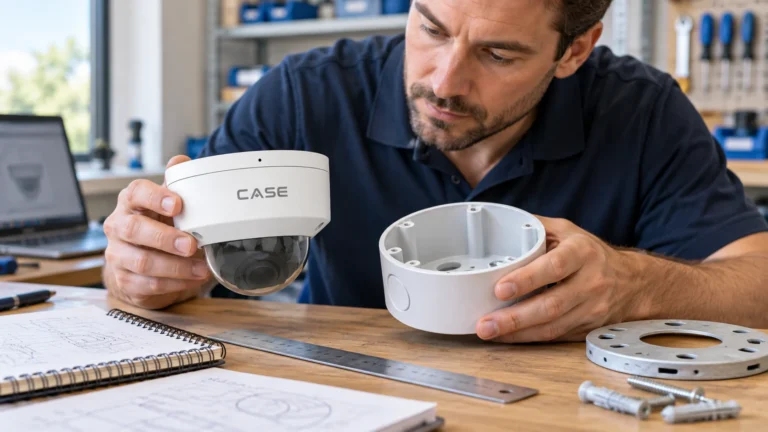
- Use the approved bridge/support and compatible camera mounting instructions; do not infer load capacity from housing style.
- Provide the specified cable restraint and service slack without loading the connector or obstructing other systems.
- Keep connections in the approved accessible arrangement and record the completed support before the ceiling closes.
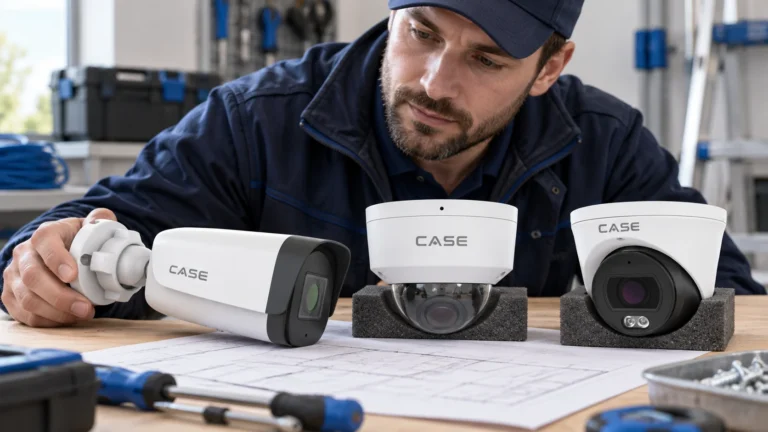
CS-I8KS SD-2.8mm lists IP67, IK10, Metal+Plastic housing, 3840×2160@20fps and 30m maximum IR. These rows do not approve a ceiling fixing or establish useful face detail at a particular height. Verify complete camera/mount compatibility, permitted cover adjustment and the final recorded view. Bullet vs dome vs turret covers the separate housing decision.
Drywall and concrete: which anchor for which load?
Drywall
Identify the actual framing, backing and board assembly. Select an approved overhead fastening detail for the combined camera, box, mount and any movement/service loads. Do not apply a universal four-times anchor rule or substitute a wall rating for an overhead rating. Where backing or an opening is needed, coordinate the permitted work and restoration. For a fire-rated assembly, use the applicable approved penetration/system detail; generic fire caulk alone is not proof of compliance. UL’s firestop-system guidance explains why the complete approved penetration detail matters.
Concrete
Confirm the slab type and permitted fixing zone before drilling; post-tensioning, reinforcement, voids and concealed services need the responsible specialist’s review. Select the exact approved anchor for substrate condition, orientation, edge distances, load and environment. Follow that anchor’s drill/clean/install and inspection instructions. A sleeve, wedge, drop-in or adhesive anchor is not interchangeable by camera weight alone. Record the specified fixing and completed work; compare an approved wall location if ceiling access is unsuitable.
Metal deck and open structure: use an approved attachment
Do not drill, clamp to or load deck, joists or beams based on appearance. Obtain the approved attachment detail and check the roof/building owner’s restrictions. An appropriate clamp or strut arrangement may work, but its component compatibility, load, restraint and installation limits still need verification. Support cables on the approved pathway independently of tiles and other services; protect the roof and fire-rated assembly where applicable.
High ceilings: when a pendant mount is the answer
A pendant may help where the original ceiling position cannot meet the required view or access plan. CS-DF21Y is listed as a pendant mount; check the exact camera, box and mount combination on the actual sheets. Confirm the complete drop/support arrangement, cable route, sway and maintenance access before selecting it. The catalog name does not establish a universal drop length or load capacity. Confirm the accessory’s written warranty and exclusions for the supplied revision.
Include leverage and movement in the support design, not only the camera’s static weight. Use the approved anchor/attachment and pendant instructions for the actual structure. Complete accessible configuration checks while safe access is available, but keep a real recorded night test on the acceptance list; daytime forced night mode is preliminary.
Cable concealment: plenum, pathways and the box
Confirm from the building documents and responsible mechanical/code reviewer whether the route is an environmental-air space, riser, wet area or another classified location. Choose the cable/listing and permitted pathway required by the applicable local rules and project specification. A suspended ceiling is not automatically a plenum, and CMP/FT6 labels should not be treated as universal interchangeable approvals. Resolve the route before pulling cable.
- Confirm an approved pathway, support type, spacing, bend radius, pull limits and separation from other services using the actual system and local requirements.
- Keep cable loads off unsupported ceiling tiles, grids and unrelated services; use the specified independent supports.
- Use the approved firestop system for each applicable rated penetration and record its design/reference and installation.
- Choose a compatible accessible connection arrangement, such as CS-A22 only where the actual camera sheet confirms it; preserve permitted service slack and enclosure instructions.
- Agree any surface raceway/conduit route, label both ends and record the installed cable type and route.
The wiring choices behind this list, shielding, grounding and surge, are in the security camera wiring guide for installers.
What to tell your customer
We will identify the support and cable-route detail for each ceiling and record the completed installation. The approved design will address the actual structure, access, fire/air-handling requirements and camera view. We will keep final day/night acceptance evidence and the service information; no generic mount choice promises that an assembly cannot sag or leak.
FAQ
Can a security camera be screwed directly to a drop ceiling tile?
Do not use an ordinary tile as an unverified load-bearing fixing. Obtain the ceiling system’s approved equipment-support detail for the actual camera/mount load. A suitable bridge and independent support may be required, but the arrangement depends on the ceiling, project and local requirements; this article does not approve a particular fixing.
Do I need plenum-rated cable above every drop ceiling?
First verify the route’s classification and applicable local/project cable rules with the responsible reviewer. A drop ceiling alone does not tell you whether it is an environmental-air space. Specify the required cable and pathway from that determination rather than treating CMP, FT6 or a generic plenum label as universal approval.
What anchor should I use for a camera on a concrete ceiling?
Use the exact anchor and detail approved for that slab, overhead load, position and environment. Confirm concealed services, reinforcement, post-tensioning and voids before drilling. Follow the approved installation and inspection instructions; sleeve, wedge, drop-in and adhesive anchors are not a generic light/heavy substitution list. Record the slab and approval references in your site survey.
When does a high ceiling need a pendant mount instead of a surface mount?
Consider a compatible pendant when it helps the actual recorded task or avoids obstructions, with an approved structural support and service-access plan. There is no universal fourteen-foot trigger. Verify CS-DF21Y compatibility and the complete drop, load and movement limits before selecting it; retain final day/night image checks.
References
- Anabon: exact-model manuals, firmware and installation documents
- UL Solutions: firestop is a tested system, not a generic sealant